Gluten Free Chocolate Cake Pops Recipe
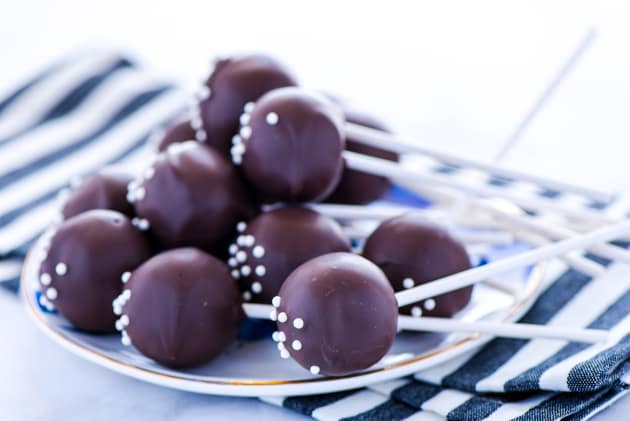
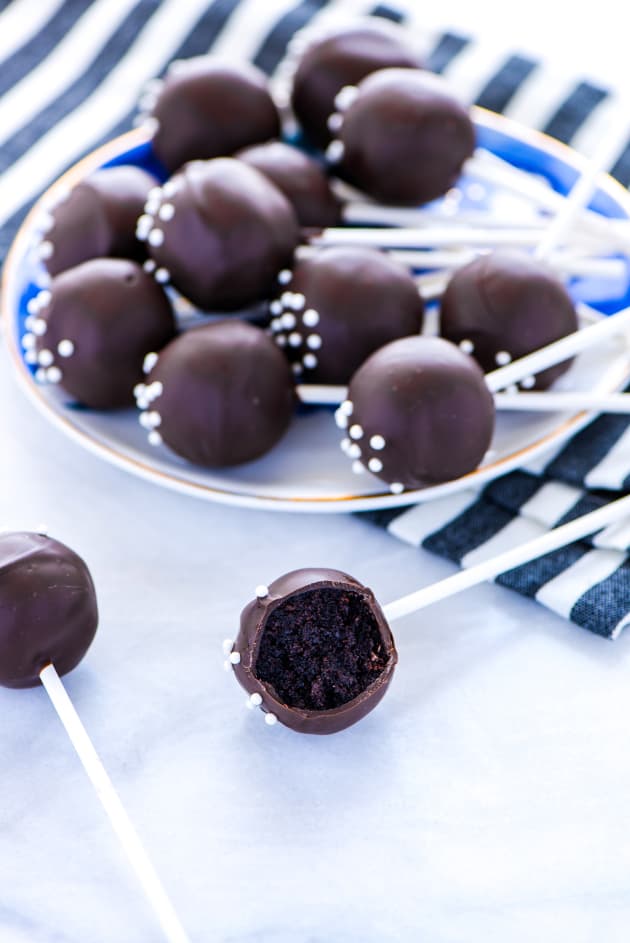
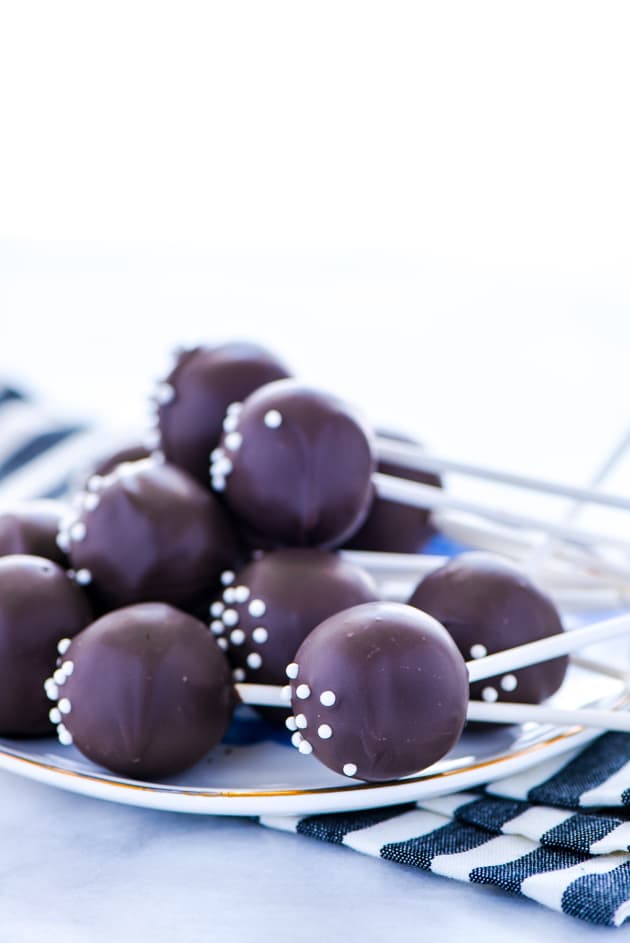
Sharon L. | What the Fork Food BlogFollow my easy tips to make the perfect gluten free cake pops! These are made with minimal ingredients and minimal equipment with bakery-quality results!
I don’t know about you, but my kids are literally obsessed with cake pops. Luckily, they’re easy enough to make at home so I can make a batch and keep them in the freezer for whenever.
It’s way cheaper than going out and buying them at $1.50/pop. This recipe makes about 60 (depending on how big/small you make them) so you do the math.
Actually, I’ll do it for you because I want to prove a point. 60 cake pops would be $90 before taxes. I just saved you a bunch of money by switching to homemade. Please somebody get that reference.
Cake pops can sound intimidating and even really hard to do. But in reality, they’re not difficult. A little time consuming but definitely do-able. It’s even something the kids would like to help with, especially the crumbling and mix part.
Put those kids to work and let them earn their keep (aka cake pops)!
I use my favorite gluten free chocolate cake recipe for these cake pops. But if you want to use a gluten free box cake instead, I won’t judge you. You do you.
I also used my favorite easy homemade chocolate buttercream frosting for the binder. So creamy and good!
If you need dairy free, follow my notes for dairy free in the cake recipe and then use my vegan chocolate frosting. Be sure to use dairy free chocolate for dipping too, my go-to is Enjoy Life Foods mini chocolate chips. They melt great!
Tips for Making Cake Pops:
Cake pops can sometimes be tricky to get right. The chocolate could crack during the cooling process and sometimes they can spring a leak and cake will seep out the bottom. Follow my easy tips below to help make your cake pop making process go smoothly!
How to prevent cake pops from cracking:
During the chilling process, the cake balls will shrink a bit but when they come to room temperature after they’re dipped in chocolate, they will expand. That expansion can cause the chocolate to crack.
To prevent the cracking, make sure your cake balls aren’t too cold when you dip them. Let the few cake pops you’re working with come to room temperature for about 20 minutes before dipping.
Work with smaller batches of cake balls at a time, leaving the rest in the refrigerator. I work with about 8-12 cake pops at a time.
You also want to make sure your chocolate isn’t too hot. If you’re melting it in the microwave, it can get a bit too hot. Let it cool to room temperature for a few minutes before starting your dipping process.
How to prevent cake pops from leaking cake:
You may have made cake pops before only to have some of the cake pop start leaking out the bottom. The reason why this happens is because there’s a hole in the chocolate. As the cake expands, it will start oozing out that hole.
To prevent this from happening, make sure you coat your cake pop completely with chocolate. There should be no visible cake.
You also want to make sure there aren’t any air bubbles visible on your cake pop. If there are, us a toothpick to pop them and smooth out the chocolate. You’ll want to do this quickly before the chocolate starts to harden!
How to Store Cake Pops:
Cake pops need to be stored in the refrigerator. Make sure your cake pops are covered completely when storing them. Condensation will form on the chocolate if they are stored in the refrigerator without being covered.
You can bring them to room temperature before serving them.
Some say that you shouldn’t freeze cake pops once they’re coated in chocolate. I, however, disagree with that. I’ve frozen my cake pops and they defrosted at room temperature without an issue. It’s the best way to store them long term.
Enjoy!
Planning a dinner party and need some inspiration?
How about looking for a new slow cooker dinner idea?
We’ve got you covered in our ever-growing Facebook group! If you’re not a member yet, why not?!

We’re chatting cooking techniques, dessert ideas, and everything in between. If you’re already a member, invite your friends to join us too!
Gluten Free Chocolate Cake Pops Recipe
Ingredients
- 1 recipe Gluten Free Chocolate Cake, baked and cooled completely
- 4 cups Chocolate Frosting
- 24 ounces Chocolate Candy Melts, (2 packages) or semi-sweet chocolate chips
- 60 Lollipop Sticks
- Gluten Free Sprinkles, optional
Directions
- In a large bowl, crumble the chocolate cake until it become fine crumbs. Stir in the chocolate frosting until its completely combined and all the crumbs are moistened. The mixture should hold together and be similar to cookie dough consistency.
- To form the cake balls, press together a small amount of cake and roll into a ball about the size of a ping pong (about 1 1/2 tablespoons). Place the rolled cake balls on a rimmed baking sheet lined with wax paper.
- Once all the cake balls are formed, refrigerate for at least an hour or overnight.
- When the cake balls have chilled, follow the package directions for melting your chocolate. When the chocolate is melted, dip the tip of a lollipop stick into the melted chocolate then insert into a cake pop most of the way.
- Carefully dip the cake pop into the chocolate and cover it completely, letting the excess chocolate drip away. Place the stick into a cake pop holder (see notes) to keep it upright or place upside down on a wax paper lined baking sheet. Top with sprinkles while before the chocolate starts to set. Repeat for all the cake pops.
- Store cake pops covered in the refrigerator.
Notes
- You may need to refrigerate your cake pops after inserting the stick before you dip them. It’ll harden the chocolate on the inside making the cake pop more secure. I don’t always do this but if it’s warm and/or humid it will be necessary.
- I made my own cake pop stand by wrapping a block of Styrofoam with aluminum foil. I used the lollipop sticks to make the holes.
- I work with one bag of chocolate candy melts or chocolate chips at a time. It’s easier to melt them evenly and I melt more as needed throughout the dipping process. You will need about 2-3 12 oz. bags of candy melts depending on how thick you coat them.
- Chocolate chips don’t always melt great and will sometimes get discolored during once cooled. My favorite brand of chocolate chips for melting/dipping is Enjoy Life Foods, specifically their mini chips. I find that they melt and cool beautifully.
Recommended
- Published:
- Modified:
- Author:
- Sharon L.
- Cooking Method:
- Baked
- Cuisine:
- Gluten Free
- Category:
- Gluten Free Desserts
- Tags:
- Gluten Free Desserts, Gluten Free Baking, Gluten Free, Cakes, Homemade Gifts, Homemade, Family Meals and Snacks, Snacks, Easy Desserts, Desserts, Baked
- Related Recipes:
- Gluten Free Dessert Recipes, Gluten Free Baking Recipes, Gluten Free Recipes, Cake Recipes, Homemade Gift Recipes, Homemade Recipes, Family Meals and Snack Recipes, Snack Recipes, Easy Dessert Recipes, Dessert Recipes, Baked Recipes
- Recipe Yields:
- 60 pops
- Prep Time:
- Total Time:
- Related Post:
-
Published:
Author: Sharon L.
Recipe Yields: 60 pops
Prep Time: 30 minutes
Total Time: 30 minutes
Nutrition Facts
Amount Per Serving


