Homemade Candy Buttons Recipe
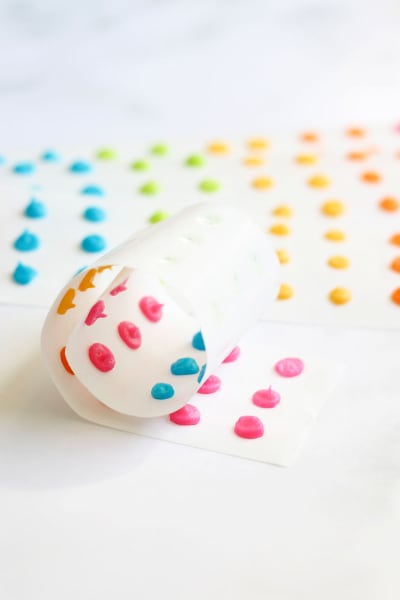
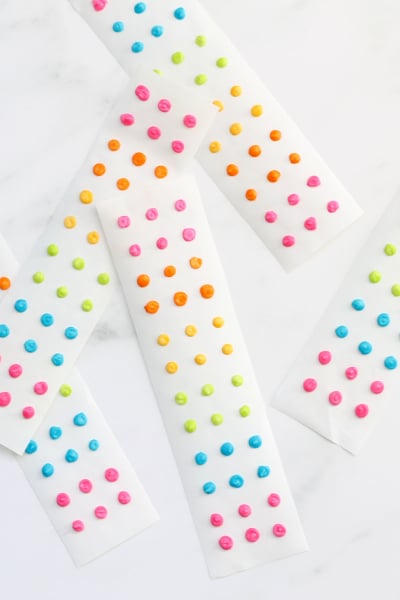
Meaghan Mountford | The Decorated CookieRetro homemade candy buttons are a fun, easy, colorful treat to make for any party. Bet your kids will love ‘em!
These homemade candy buttons, or candy dots, bring me right back to my childhood... Going straight to the candy store in the mall when I had a dollar in my pocket.
I might snatch these up right along with Now-and-Laters and Nerds. Making your own is not only easy, but they taste even better than store-bought.
The original candy buttons were made by the Cumberland Valley brand, but Necco purchased the company in 1980 and took over production, and now they have the monopoly on these strips of candy-dot-filled paper.
According to NECCO, they still produce three-quarters of a billion candy dots a year. They flavor the buttons with lemon, lime, and cherry.
To make your own candy buttons, you'll need to cut strips of paper for the backing. You may use freezer paper, parchment paper, and even white card stock paper.
For the candy dots, I use my all-time favorite, best-ever recipe for royal icing. The royal icing dries well enough to handle and package without smushing or smearing, but it isn't as hard and brittle as traditional royal icing, as I add a few other ingredients for better texture.
You may also choose to add extracts to the icing for different flavors, such as lime, lemon, or cherry, like the original, or peppermint, orange, or any of your favorites.
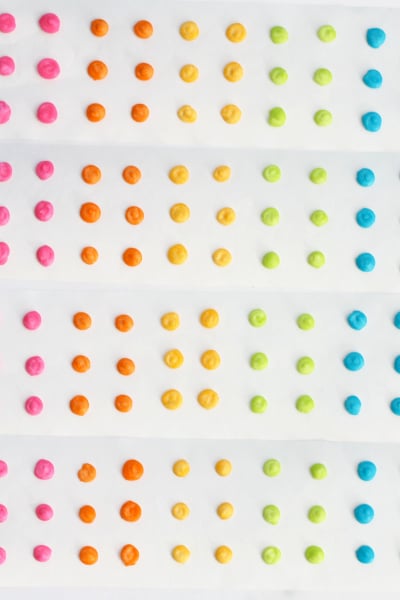
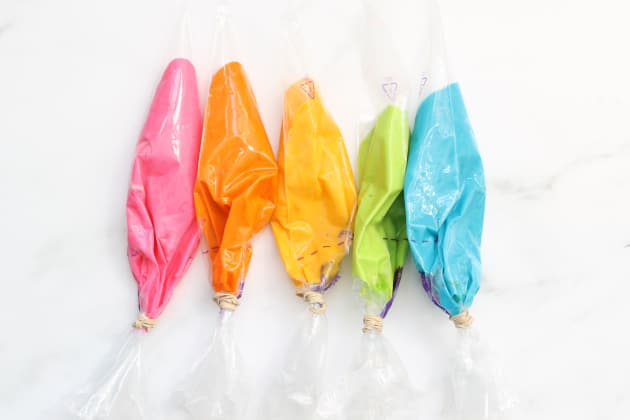
Here, I divide the icing into five different colors, but you may choose as many or few colors as you like.
Making candy buttons for party favors or the holidays? Use colors to match your theme. Or, add purple into the mix, and make a true rainbow of colors.

If you need tips on choosing the best food colors, find all you need to know about food coloring here.
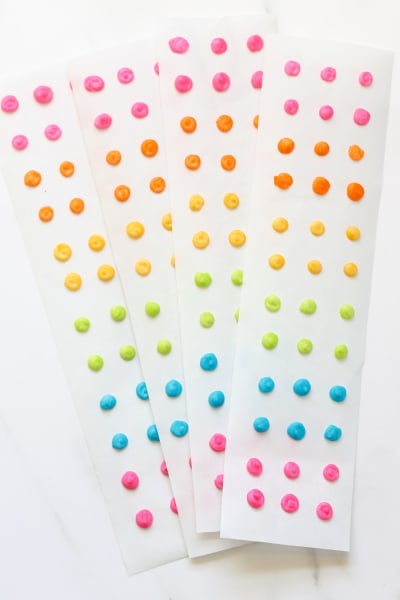
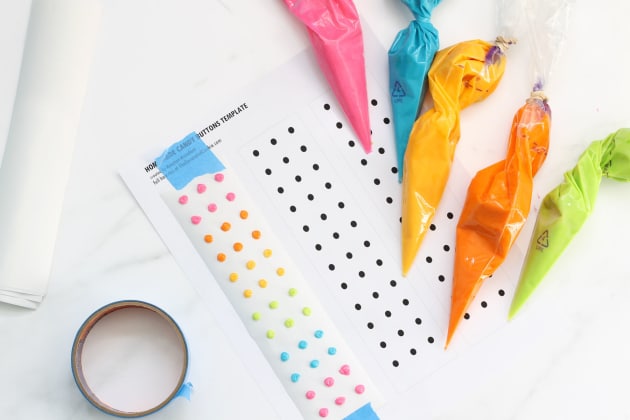
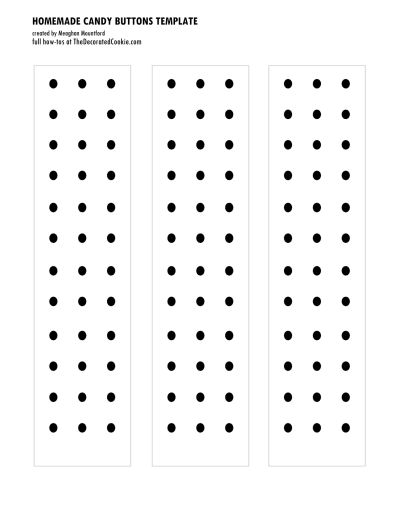
To make all of your candy buttons uniform, I've provided a free printable template. To use the template, tape a strip of freezer paper on top of the template and let the dots show through the paper. Alternatively, you may use a food writer to draw little dots on the freezer paper strip, using the template to trace, and then pipe on top of the food writer dots.
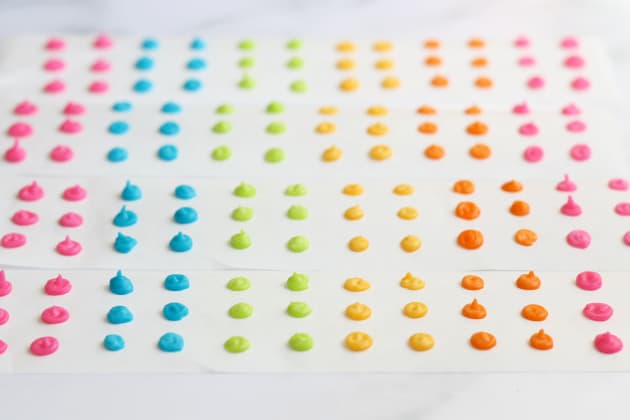

Homemade candy buttons are a perfect treat to make for party favors (roll up the paper and package in little cellophane bags with ribbon) or just for fun any day.
Are you tired of the dinner routine?
Stuck in a rut or looking for fun new recipes to try?
Our Facebook Group is growing every day! If you haven’t joined yet, we invite you to come check it out and join the fun.

You can ask for recipe ideas, talk about cooking techniques, or get help figuring out the right new pan set for you. If you’ve already joined, invite a friend along!
Homemade Candy Buttons Recipe
Ingredients
- 2 tablespoons Meringue Powder
- 1/4 cup Cold Water
- 3 1/2-4 cups Confectioners Sugar
- 1 tablespoon Light Corn Syrup
- 1 tablespoon Vegetable Shortening
- 1/2 teaspoon Pure Vanilla Extract
- 1/2 teaspoon Fruit Extract of Your Choice, (optional)
- Food Coloring
Directions
- In a standing mixer fitted with the whip, or with an electric hand mixer, beat together the meringue powder and water until stiff peaks form.
- Blend in 3 cups of the confectioner's sugar.
- Mix in the corn syrup, shortening, and vanilla extract. Add more confectioner's sugar, 1/2 to 1 cup more, to desired consistency.
- Divide the icing into bowls for the number of colors you are making.
- Add a dash of fruit extract(s) to each bowl of icing if you'd like to add flavoring.
- Tint each bowl of icing with the food coloring.
- Fill the decorating bags and close tightly with rubber bands. Snip the tips of the decorating bags.
- Cut strips of freezer paper size 2-inches by 8 1/2-inches. Place a strip over the template.
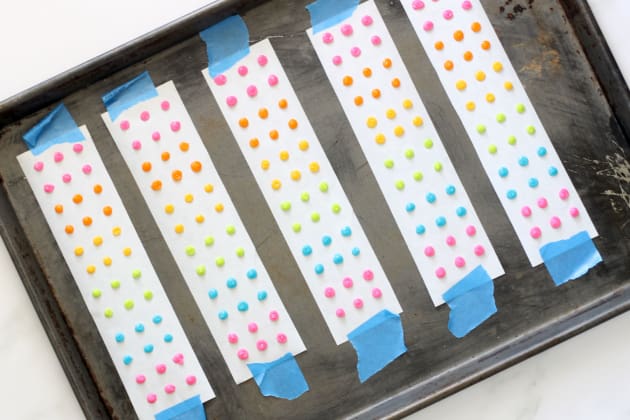
- Use the blue painter's tape to secure the strip. Pipe dots of icing on the strip of paper, using the template as a guide. (Alternatively, hold the strip over the template and trace the dots with a food writer. Then pipe on the dots.)
- When finished, transfer the strip to a baking tray, using the blue tape to hold the paper onto the tray.
- Let the icing dry overnight before handling and packaging.
Notes
Also needed for this recipe:
- Disposable decorating bags
- freezer paper
- scissors
- blue painters tape
- candy buttons template
Recommended
- Published:
- Author:
- Meaghan Mountford
- Cooking Method:
- No Cook
- Category:
- Homemade
- Tags:
- Homemade Candy, Homemade, Copycat, No Cook, Easy, Party Food
- Related Recipes:
- Homemade Candy Recipes, Homemade Recipes, Copycat Recipes, No Cook Recipes, Easy Recipes, Party Food Recipes
- Recipe Yields:
- 2 cups of icing
- Prep Time:
- Drying Time:
- Total Time:
- Related Posts:
-
Published:
Author: Meaghan Mountford
Recipe Yields: 2 cups of icing
Prep Time: 45 minutes
Total Time: 525 minutes
Nutrition Facts
Amount Per Serving


