
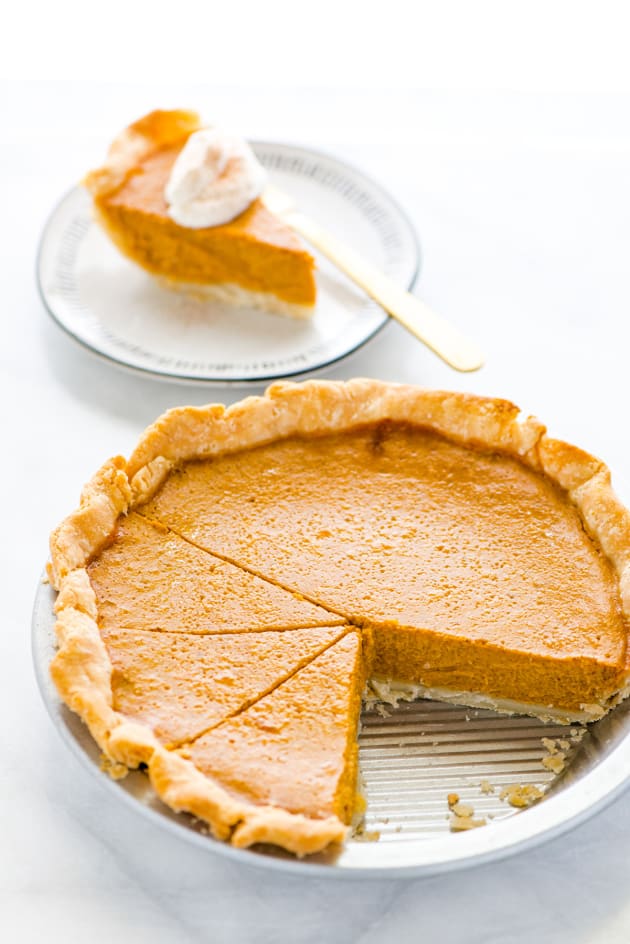
How to Make Pie Crust
Melissa BahenDon’t let homemade pie crust scare you! With a few basic ingredients and our fool-proof tips, we will teach you how to make pie crust in no time.
I get it - learning how to make pie crust can feel intimidating! It seems like there are a dozen points at which pie crust can go wrong.
You're in luck! Here I am going to share all of my tips for how to make the best pie crust with you, and you’ll be a pro before you know it.

Ingredients for Making Pie Crust
Some pie crust recipes call for lots of ingredients, but pie crust doesn’t need to be fancy. In fact, the best pie crusts are usually pretty simple.
Pie crust ingredients should include:
- Flour: All pie crusts need flour, and plain old all-purpose flour is great.
- Salt: As with all baked goods, a little salt in your pie crust will help highlight all the other amazing flavors in your pie.
- Water: Every pie crust needs some kind of liquid to bind it together, and water (the colder the better) is a great way to go.
- Fat: Fats give pie crust richness and texture, and help it turn that lovely golden color all picture-perfect pies have. But what’s the best fat to use in pie crust??
Butter or Shortening for Pie Crust
People have opinions on whether pie crusts should contain butter or shortening! So let’s take a look at what butter and shortening do in pie crust.
Butter gives a pie crust flavor. You really can’t get that good, rich buttery flavor from anything other than butter (unless you’re looking for a fake butter flavor).
Butter also contains water. When you make pie crust, it’s best to leave small flecks of butter in your crust instead of blending it completely smooth and uniform.
When the crust bakes, these tiny chunks of butter melt and release their water as steam, which creates crispy, flaky pockets of air. So butter is what gives you a flaky crust!
Shortening won’t give your pie crust great, buttery flavor, and it bakes up pretty greasy all on its own. So why use it in pie crust?
Because shortening has a couple of things going for it. First, shortening pie crust holds its shape really well—something all-butter crusts have a huge problem with.
Second, shortening is very good at impeding gluten formation. So it keeps your crust extra tender and crumbly instead of stretchy and chewy.
So which one is better to use in a pie crust? My answer is both!
A pie crust made with both butter and shortening will give you the best characteristics each individual ingredient can offer.
It will taste great, will hold its shape well (giving you those perfectly crimped edges) and will be tender and flaky.
Optional Pie Crust Ingredients
In addition to the basic pie crust ingredients, there are optional ones you can add at your discretion:
- Sugar: I add just a little sugar to my pie crust to give it a hint of sweetness. I think it makes for a really yummy crust.
- Other liquids besides water: I’ve heard of people using lemon-lime soda, white vinegar, and even vodka in pie crust, either in place of or in addition to the cold water. Feel free to experiment and find what works best for you.
- Lard: I haven’t had pie crust made with lard since I was a little kid, but word on the street is that it makes a killer pie crust. But it can sometimes have an off taste and be very hard to find.
- Sour cream or cream cheese: I’ve used both of these in pastries before, and they make for tender, flavorful crust that is easy to work with. I usually use sour cream or cream cheese pastry for hand pies or quiche.
- Cheddar cheese: My husband swears that putting shredded cheddar in your apple pie crust is amazing.
How To Make Pie Crust
OK, now that we’ve covered all of the best ingredients for making homemade pie crust, let’s chat about the process.
Homemade pie crust can be intimidating, but once you get the hang of how to make pie crust, making your own pie crust from scratch is a breeze.

Here are some tips for getting perfect pie crust every time:
- Keep all of your ingredients cold. Cold butter, cold shortening, cold water, etc. I’ve even known people who put their flour in the freezer!
- Ice water is great for pie crust, but you don’t want chunks of ice in your mixing bowl! I usually fill a large measuring cup with ice water, then measure out exactly the right amount of cold water with a separate measuring cup just before adding it to the rest of the ingredients.
- You can make pie crust all by hand, or you can use a food processor, which happens to be my favorite method. Either way, be careful not to over-mix your dough.
- Make sure you can still see small flecks of butter once your dough has come together. I like to call this “Visible Butter.”
- Again, cold is key! Pie crust loves to be cold. After your dough is made, wrap it in plastic wrap and chill it in the fridge before you roll it out.
- Whenever you make pie, you inevitably have scraps leftover. Put those scraps on a cookie sheets, sprinkle them generously with cinnamon sugar, and bake them up until just golden. These “pie crust cookies” are your reward for making pie crust from scratch.
How To Blind Bake Pie Crust
In my opinion, one of the trickiest things about pie crust is blind baking. So, what is blind baking pie crust?
Blind baking is baking an empty pie crust that will later be filled without any further cooking.

Blind baked crusts are perfect for cream pies, pudding pies, and pies where you cook the filling separately from the crust.
Blind baking is a challenge because unlike in a regular, filled pie, there’s no filling holding the crust in place while it bakes. Blind baked crusts have a nasty habit of shrinking into a puddle in the bottom of the pie pan!
Luckily, there are some easy steps you can take to blind bake the perfect pie crust for your next cream pie:
- Preheat the oven to 425°F.
- Once you have rolled your pie crust out, placed it in the pie plate, and trimmed, folded, or crimped the edges, prick the bottom and sides of the pie crust with the tines of a fork and freeze it for 15 minutes.
- Once the crust has firmed up, gently line the crust with aluminum foil. Make sure the foil is snuggled right up against the pie crust. Fill the foil with pie weights, dried beans, or uncooked rice. This will help hold the crust in place while it begins to bake.
- Bake the crust for 15 minutes.
- Remove the crust from the oven and reduce the temperature to 375°F. Carefully lift the foil and weights out of the pie and set them aside.
- Put the pie crust back in the oven and continue baking for another 10-15 minutes until the crust is golden brown.
- Cool completely before filling.
Other Kinds of Pie Crusts
Of course classic pastry crusts aren’t the only way to go when it comes to pie. Some other favorite pie crusts include:
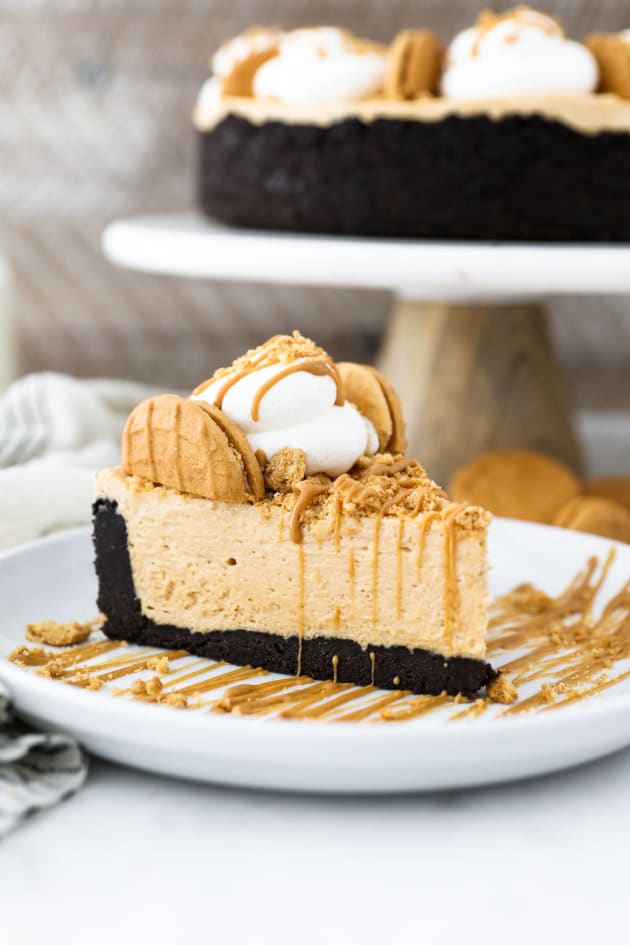
- Graham Cracker Pie Crust: Crushed graham cracker crumbs mixed with melted butter and sometimes sugar, baked until golden, then cooled and filled; perfect for cheesecake-like pies, key lime pie, s’mores pie, and more; try this Lemon Cream Cheese Pie
- Cookie Pie Crust: Similar to a graham cracker crust but with store bought cookies in place of the graham crackers; dark chocolate cookie crust goes well with chocolatey French Silk pie and ice cream fillings; spicy cookies like gingersnaps lend a festive holiday flavor; try this Peppermint Bark Silk Pie
- Pretzel Pie Crust: Uses crushed pretzels in place of the graham crackers; the salty flavor is a fun contrast to super-sweet fillings; try this Peanut Butter Pie with a Pretzel Crust
- Nut Pie Crust: Ground nuts—almonds, pecans, macadamia nuts, etc—in place of crushed cookies or crackers; a tasty gluten-free option for filled pies
Planning a dinner party and need some inspiration?
How about looking for a new slow cooker dinner idea?
We’ve got you covered in our ever-growing Facebook group! If you’re not a member yet, why not?!

We’re chatting cooking techniques, dessert ideas, and everything in between. If you’re already a member, invite your friends to join us too!
How to Make Pie Crust


Rate This Recipe
Ingredients
- 2 1/2 cups All-Purpose Flour
- 1 tablespoon Granulated Sugar
- 1 teaspoon Kosher Salt
- 12 tablespoons Cold Butter, cut into chunks
- 1/2 cup Shortening
- 1/2 cup Cold Water
Directions
- Combine flour, sugar, and salt in a large bowl or in the bowl of a food processor. Mix or pulse to combine.
- Add the chunks of butter and shortening. Combine the mixture until it looks like coarse crumbs and the butter chunks are about the size of peas. If you are using a food processor, all mixing should be done using the “pulse” function.
- Add the cold water. Combine the mixture just until it sticks together.
- Form the dough into a ball that will hold together, then divide it in half. Shape each half into a disk about 1” thick. Wrap the dough in plastic wrap and refrigerate for 15 minutes before using.
- Roll out and use per the recipe you are making.
Notes
This recipe makes enough for 2 single crust pies or 1 double crust pie.
Recommended


- Published:
- Modified:
- Author:
- Melissa Bahen
- Cooking Method:
- Baking
- Tags:
- Baking, Pies
- Related Recipes:
- Baking Recipes, Pie Recipes
- Recipe Yields:
- 1 double pie crust
- Prep Time:
- refrigeration:
- Total Time:
- Related Post:
-
Published:
Author: Melissa Bahen
Recipe Yields: 1 double pie crust
Prep Time: 15 minutes
Total Time: 30 minutes
Nutrition Facts
Amount Per Serving

