
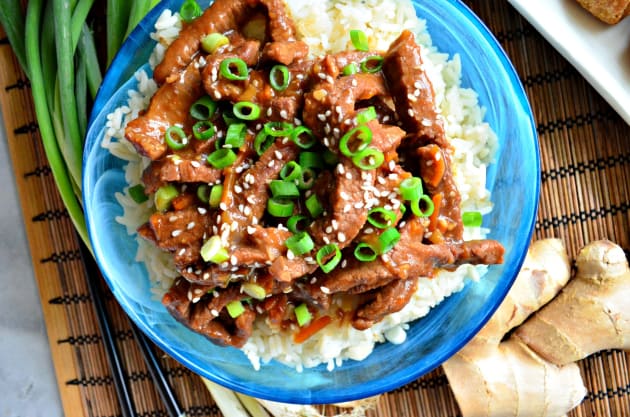
Instant Pot Mongolian Beef Recipe
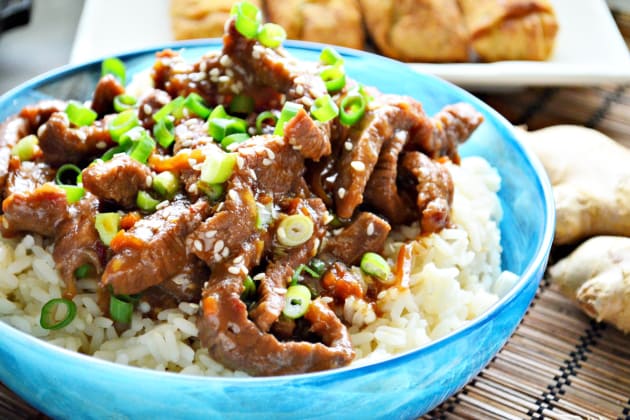
Katie Jasiewicz | Katie's CucinaMy easy recipe for Instant Pot Mongolian Beef with a flavorful homemade sauce will fool your family into thinking they are eating Chinese takeout. It’s a weeknight wonder!
My husband often complains that I make the same recipes — or at least variations of the same foods and flavors. I’ve been working hard on “jumping out” of my comfort zone and experimenting with new recipes to spice things up come dinnertime.
I love Chinese food and so does my family; however, my husband isn’t always convinced on my home takeout. So when he saw “Mongolian beef” on the menu board he raised an eyebrow. I know he had doubts in this meal; however, he never said it out loud.
As it came closer to dinner being ready, our home started to fill with the smell of a sweet and savory beef sauce — I could see my husband perk up. At that moment, I knew this recipe for Instant Pot Mongolian Beef was going to be a winner.
A little insider info — everything that is photographed for the blog is normally dinner that evening. I’ll try to cook dinner a little earlier then normal so that I have ample time before serving dinner.
We always have dinner together as a family. It’s a bit chaotic, but it’s how both my husband and I were raised and we feel it’s very important to sit as a family each and every night. Very rarely do we not sit and have dinner together.
One the rare occasions that my husband works late, my 4-year old cries that daddy isn’t eating dinner and he insists on waiting to eat with him. However, his stomach always wins that battle.
Since this meal made a lot I served the kids and my husband and then I photographed “dinner.” A few bites in and everyone was raving. My 1.5 year old was already done with the beef I served her by the time I sat down to eat. I had to go back and get a second helping of beef for her.
Because the kids were eating this I lessened the amount of red pepper flakes in the recipe. If you like it spicy you can add more. Just remember — it’s always better to add less than make it too spicy and inedible.
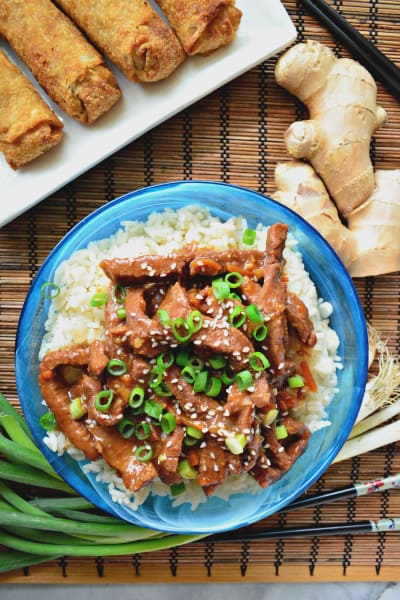
I paired this meal with white rice, steamed broccoli (great way to get the kids to eat it — just pour some of the extra Mongolian Beef sauce on top of it), vegetable egg rolls, and my sesame cucumber salad.
I hope your family loves this meal as much as mine did!
Planning a dinner party and need some inspiration?
How about looking for a new slow cooker dinner idea?
We’ve got you covered in our ever-growing Facebook group! If you’re not a member yet, why not?!

We’re chatting cooking techniques, dessert ideas, and everything in between. If you’re already a member, invite your friends to join us too!
Instant Pot Mongolian Beef Recipe


Rate This Recipe
Ingredients
- 1 1/2 pounds Flank Steak, cut across the grain
- 5 tablespoons Cornstarch, divided
- 1 tablespoon Grapeseed Oil
- 8 cloves Garlics, minced
- 2 tablespoons Fresh Ginger, minced
- 1 1/4 cups Water, divided
- 1/2 cup Brown Sugar
- 1 tablespoon Sesame Oil
- 1/2 cup Low Sodium Soy Sauce
- 1/4 teaspoon Crushed Red Pepper Flakes
- 1 small White Onion, quartered
- 1/2 cup Shredded Carrots
- 2 Green Onions, thinly sliced (for garnish)
- 1 teaspoon Sesame Seeds, for garnish
Directions
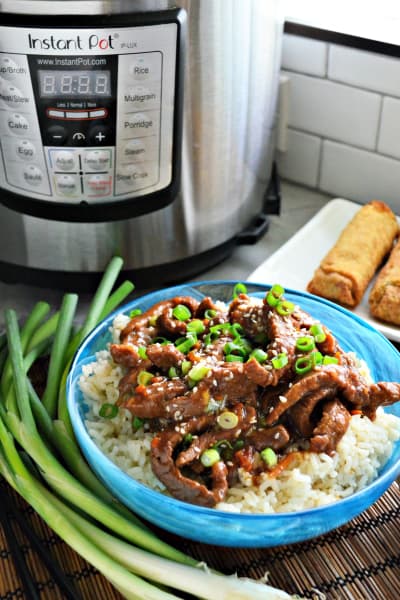
- Press the “sauté” button on the Instant Pot. Wait for the Instant Pot to read “HOT”.
- While the Instant Pot preheats, add the sliced beef into a large gallon size baggie.
- Sprinkle 2 tablespoons cornstarch over the beef. Seal the bag and shake well until the beef is coated.
- Once the Instant Pot reads “HOT” on the screen, pour the grape seed oil in the pot. Then add the beef and sauté for 3 minutes, stirring frequently.
- While the beef cooks, add the minced garlic, minced ginger, water, brown sugar, sesame oil, low-sodium soy sauce, and red pepper flakes to a large bowl. Whisk until smooth and then pour on top of the beef.
- Add the onions and shredded carrots to the Instant Pot. Mix well, then close the lid and “seal the pressure valve”.
- Select the “manual” setting for 8 minutes. Once it is done let it sit for 10 minutes for a “natural release”.
- While the beef cooks make a cornstarch slurry with the 3 tablespoons cornstarch and the 1/2 cup of water. Set to the side.
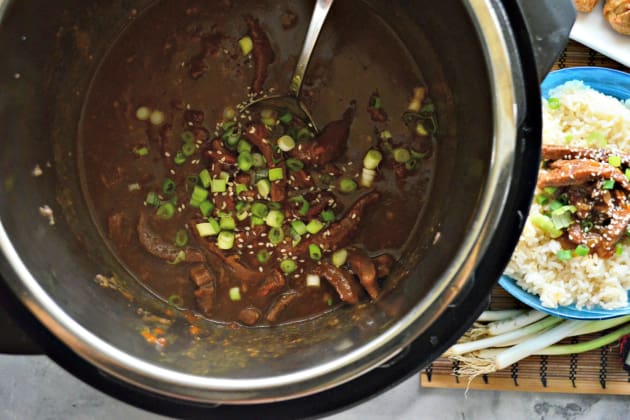
- Carefully, let the remaining pressure out of the pot, remove the lid, and cancel the cooking time. Then select “sauté”.
- Stir the beef and add half the cornstarch slurry. Mix until thick. Add additional slurry if needed to thicken the sauce.
- Serve with rice and steamed veggies and garnish beef with sliced green onions and sesame seeds.
- Enjoy.
Notes
- It’s best to prep the garlic and ginger ahead of time to ensure the beef doesn’t burn/overcook.
Recommended


- Published:
- Author:
- Katie Jasiewicz
- Cooking Method:
- Instant Pot
- Cuisine:
- Asian
- Category:
- Dinners
- Tags:
- Easy Dinners, Instant Pot, Beef, Asian, Onions, Family Meals and Snacks, Dinners
- Related Recipes:
- Easy Dinner Recipes, Instant Pot Recipes, Beef Recipes, Asian Recipes, Onion Recipes, Family Meals and Snack Recipes, Dinner Recipes
- Recipe Yields:
- 4 servings
- Prep Time:
- Cook Time:
- Total Time:
- Related Post:
-
Published:
Author: Katie Jasiewicz
Recipe Yields: 4 servings
Prep Time: 15 minutes
Cook Time: 32 minutes
Total Time: 47 minutes
Nutrition Facts
Amount Per Serving


